Tips: How To Navigate
So you’re out hiking, you’re following the trail and then at some point, you’re lost. You find yourself in the middle of nowhere surrounded by dense vegetation and have no idea where to go. With no visible way of telling where you are, how do you find your way back?
What comes in really handy is this case is navigation skills. Knowing your bearings can flip things around, and this can get you from lost to found. So what are the key skills and tools you need to be able to navigate?
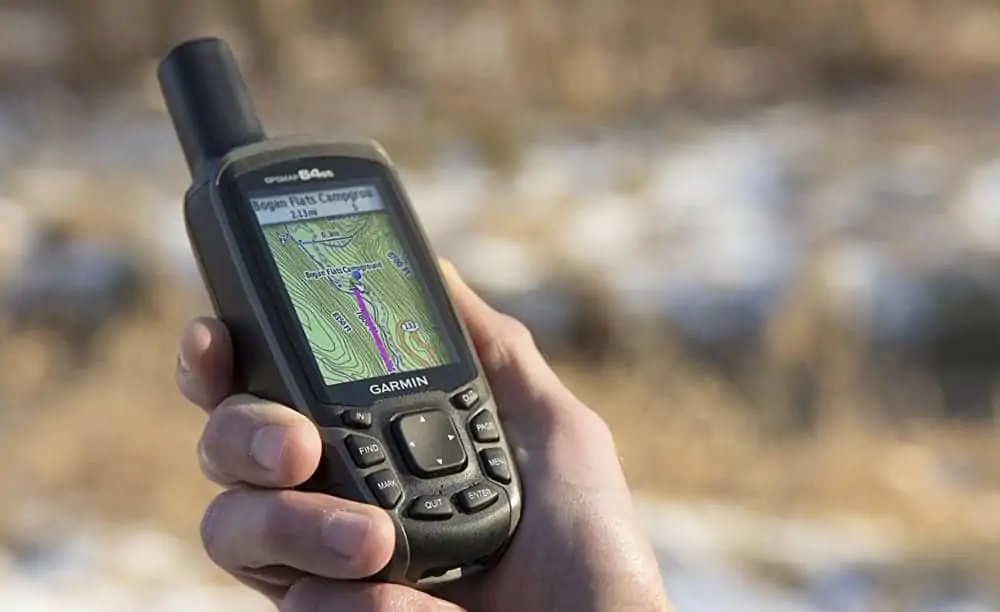
Reading A GPS

Before learning this, you’ll obviously need a GPS. And I’m not talking about the apps you can find in the PlayStore. I’m talking about handheld units designed for outdoor use. While it does save cost to be downloading an app, a handheld unit are superior in many ways such as:
- More water-resistant
- Longer-lasting batteries
- Replaceable batteries
- Better satellite reception
Not all handheld GPSs have the same features besides basic navigation, but whether the model has them largely depends on how much you pay. Here’s a list of additional features a handheld GPS may have:
- Altimeter/Barometer: These provide more accurate elevation readings and can also forecast short-term weather changes.
- Electronic compass: Unlike most regular GPS receivers, this function can tell you what direction you’re facing even while standing still, which is much more convenient and faster.
- Digital camera: The cameras are on par with smartphone cameras and allows for geotagging, which is very useful for remembering landmarks and their specific locations on the map.
- Two-way radio: Allows for radio communication, especially useful for search-and-rescue.
- Wireless data transfer: Allows for communication with compatible GPS units and sharing of waypoints and route data.
Because not all handheld GPSs are the same, it is highly recommended to study the user manual to familiarize yourself with the features. But generally speaking, the basic functions of all GPSs are pretty straightforward – just follow what’s on-screen and you should be fine.
But before that, there’s one important skill you need which is,
Reading Contour Lines On A Topographic Map
This skill gives you a huge advantage as it allows you to plan your routes based on the topographical data you have access to. It tells you if you’re going uphill, downhill or over flat land, but how does it work?

If you’ve noticed, topographic maps have a bunch of wavy lines on them. Those are known as contour lines. Here’s how it works:
- Each contour line joins points of equal elevation.
- Each line has empty spaces between them, one side is uphill and the other side is downhill.
- These lines close to form a wiggly circle, and the area inside, for the most part, is higher than the contour line.
- Lines that are further from each other indicate flat ground, and closer ones indicate steep ground.
Contour lines are great if you want to know where you’re at. By matching the terrain around you with the contour lines on your map, you’ll be able to pinpoint your location on the map without even using a GPS or compass (although it’s preferable to have them with you.)
Speaking of which,
Reading A Compass

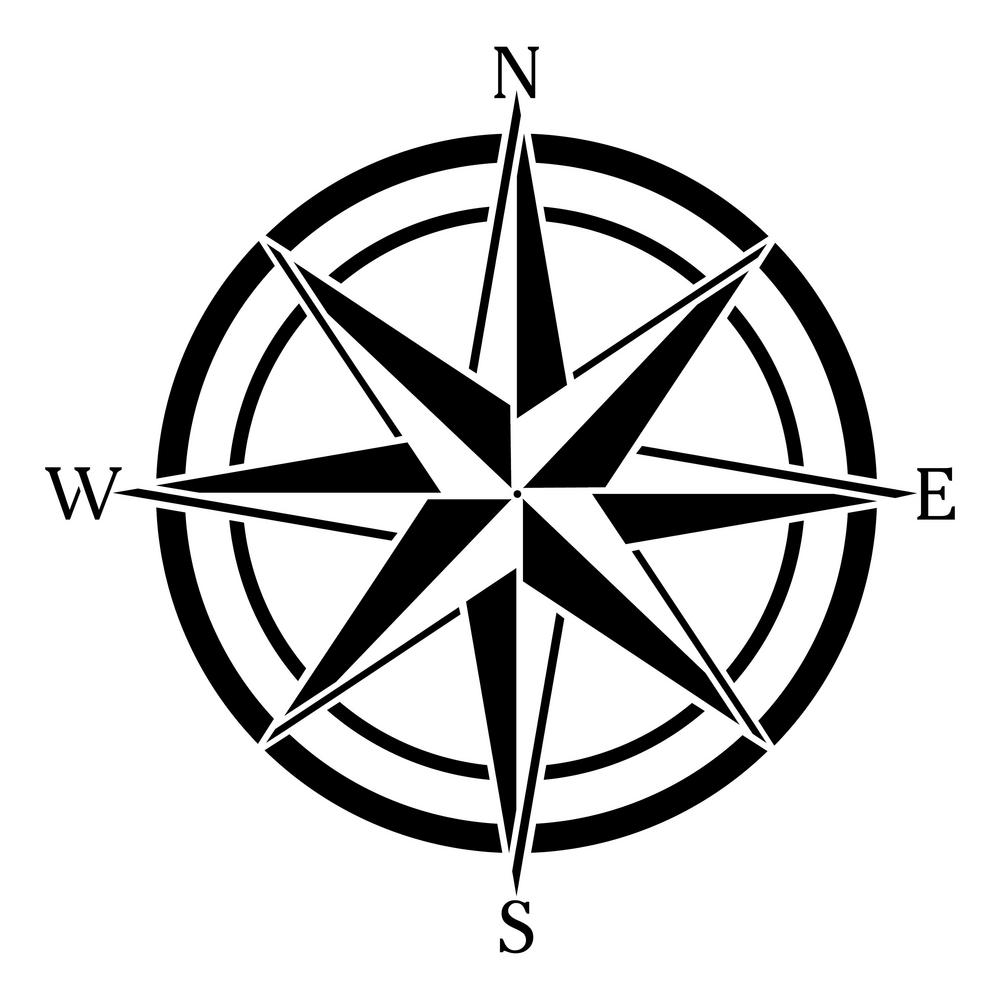
Forget “left” and “right”, you’ll have to focus on cardinal points for this one and that is North, South, East and West.
The compass is one of the fundamentals you HAVE to learn in order to navigate. There are generally 2 types of compasses, but we’ll only be looking into the mountaineering compasses as the card compasses are not applicable for hiking.
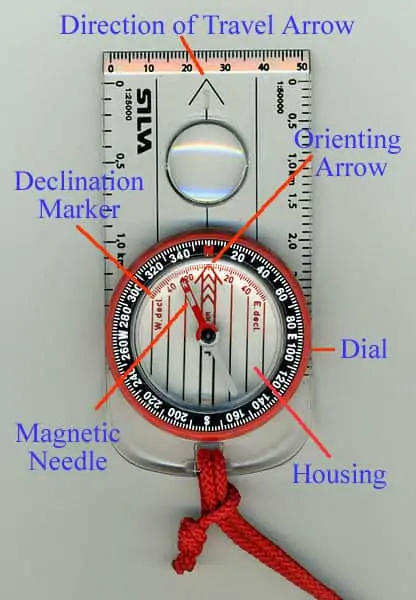
Mountaineering compasses are the ones with a needle that always points North and is almost always red. Reading them goes like this:

- Hold the compass steadily in your hand. Make sure it’s flat on your palm and your palm is in front of your chest.
- Look and see where the red tip of the magnetic needle points.
- Now turn your body in any direction while keeping the compass in front of you.
- Notice that the magnetic needle is always pointing in the same direction as you rotate the compass.
- This is because the red tip is ALWAYS pointing North.
- What you need to do now is to turn the degree dial until the orienting arrow and the “N” (North) mark are lined up with the red tip.
- Now that your compass is aligned, the direction you are facing will be indicated by the direction of the travel arrow.
By knowing where you’re facing, it’ll be much easier for you to follow a map. With reference to a topography map and your compass, you should be able to navigate around easily.
For more useful hiking tips, click here!
If you like our content, join our PTT Outdoor Facebook Group, where we share a lot of good, valuable information for free: Malaysia Outdoor Community
If you’re new here, do follow us on PTT Outdoor Facebook, Instagram and Twitter to get the latest update on our products and campaigns!


Shop Our Gears
Camp & Hike
TAHAN
COMBO
SLEEP SYSTEM
More tips that you might find useful:
12 Secrets to Getting Cheap Flights in Malaysia
马来西亚露营:户外探险综合指南
Camping in Malaysia: A Comprehensive Guide to Outdoor Adventures
Conquering Mount Kinabalu: A Hiker’s Guide to Malaysia’s Highest Peak
Camp Cooking Gear Guide – Build the Ultimate Camp Kitchen!
Top 5 Most Popular Campsites in Selangor
Ultimate Guide to Tropical Leisure Camping in Malaysia: TAHAN’s Top 5 Gear Picks
The Ultimate Guide to Hammock in Malaysia: Comfort, Adventure, and Relaxation